Return to Pipeline Connector Installation and Troubleshooting
Flange leakage is a system symptom. The cause may involve mating-face condition, alignment, gasket geometry, bolt loading, support arrangement or operation outside the reviewed condition.
Document the leak before disturbing the joint
For why rubber expansion joints leak at the flanges, record each input with its unit, source and current status. Known values can be used immediately; unknown values should remain visible for confirmation instead of becoming silent quotation or production assumptions.
Follow the load and sealing path around the flange
Look for uneven compression around the circumference
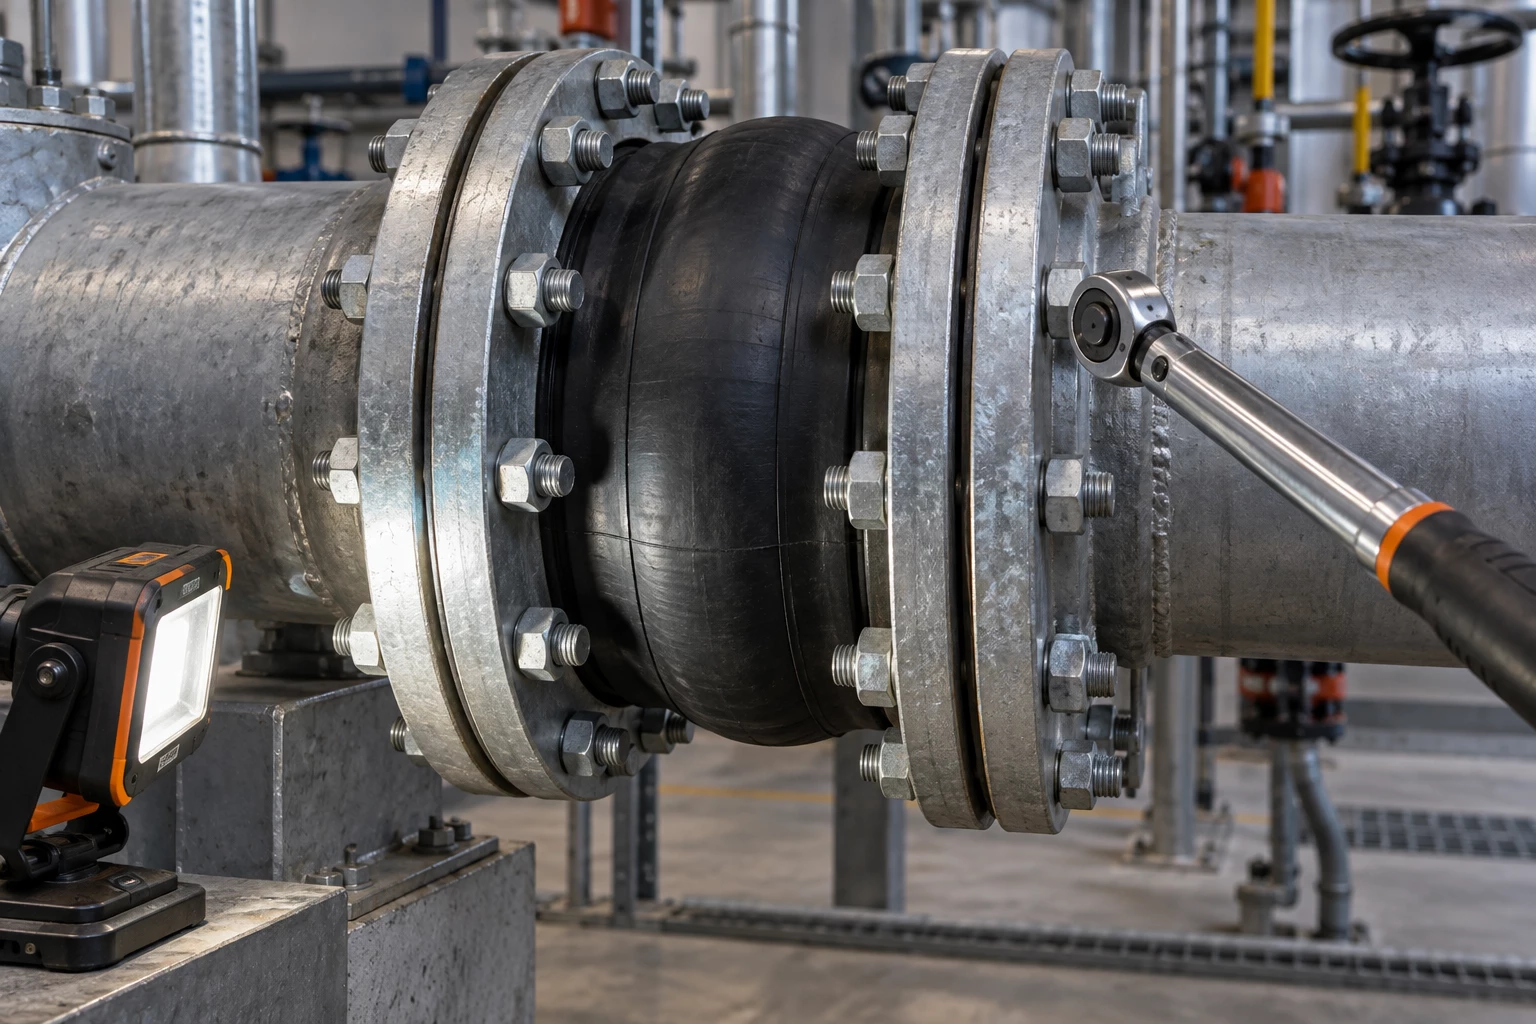
Inspect the full mating circumference, surface condition, alignment and loading pattern. Local retightening may temporarily change the leak while leaving pipe strain, incompatible facing or uneven compression unresolved. For this check, connect “Look for uneven compression around the circumference” to overview and close-up photos.
Check whether the mating flange provides the intended sealing face
Inspect the full mating circumference, surface condition, alignment and loading pattern. Local retightening may temporarily change the leak while leaving pipe strain, incompatible facing or uneven compression unresolved. For this check, connect “Check whether the mating flange provides the intended sealing face” to installation dimensions.
Review pipe strain and misalignment before retightening
Compare the pattern across adjacent cutting components. Sections, guards, ledgers, hold-downs, register and knife-back alignment form one shearing system; replacing the newest visible wear point may not correct the cause. For this check, connect “Review pipe strain and misalignment before retightening” to pressure/temperature history.
Inspect for pull-out, cracking, bulging or chemical attack
Record the exact medium, concentration, contaminants, cleaning exposure and temperature. Review compatibility for the complete duty; a generic material family or color does not confirm long-term suitability. For this check, connect “Inspect for pull-out, cracking, bulging or chemical attack” to support and anchor layout.
Actions that can hide—or worsen—the cause
- Repeatedly tightening one side without correcting alignment. Preserve the installed evidence first. Check alignment, mating faces, support and even loading before applying more bolt force as a universal corrective action. Record the correction point against overview and close-up photos.
- Using a damaged or incompatible sealing surface. Replace the shortcut with a visible assumption register for pipeline connector installation and troubleshooting. Confirm the unknown through the buyer, drawing, sample or agreed inspection method before release. Record the correction point against installation dimensions.
- Allowing the joint to carry unsupported pipe load. Replace the shortcut with a visible assumption register for pipeline connector installation and troubleshooting. Confirm the unknown through the buyer, drawing, sample or agreed inspection method before release. Record the correction point against pressure/temperature history.
Move from symptom to corrective decision
Make the system safe and depressurize as required.
Start with overview and close-up photos and installation dimensions. Include the governing drawing, sample, equipment reference or application context that explains where the information came from.
Photograph the full installation and leakage location.
Separate confirmed values from open items, especially pressure/temperature history and support and anchor layout. This allows an early review without turning missing information into guessed requirements.
Measure alignment and installed length.
Compare the route against do not diagnose from one photograph alone and check supports, anchors, guides and adjacent equipment. Record why one option is being advanced and what evidence is still needed.
Review the evidence before selecting corrective action.
Carry the same approved pipeline connector installation and troubleshooting revision, assumptions and acceptance criteria into quotation, sample review, production, inspection, packing and repeat orders.
RELIA can review the available information for why rubber expansion joints leak at the flanges, identify open items, and compare stock matching with custom production. Final product configuration and acceptance remain tied to the approved project information.
Send the current information for a project-specific review
You do not need to guess missing values before making contact about why rubber expansion joints leak at the flanges. Send the confirmed information and mark the remaining decisions for discussion.